Add Your Photos
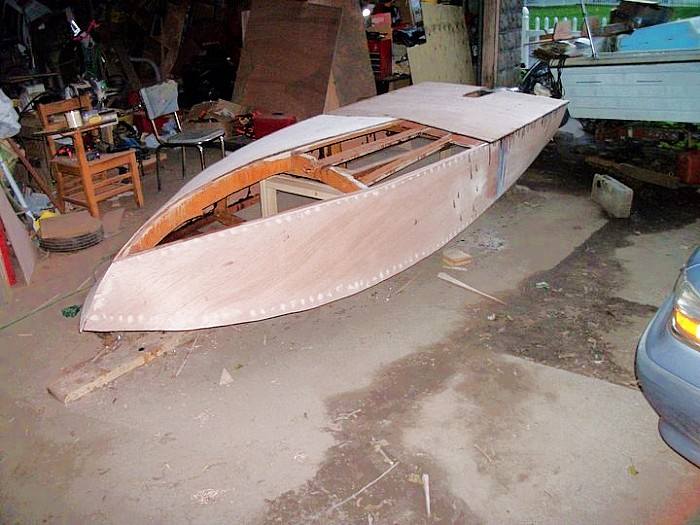
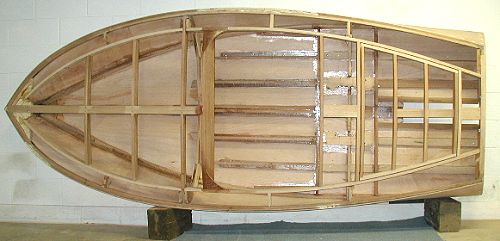
11 February 2011 I laid out and cut the first frame on 7/31/10. The photos represent progress until 10/31/10 when the weather got too cold to continue; I\'m waiting until the spring thaw to continue.
17 Photos

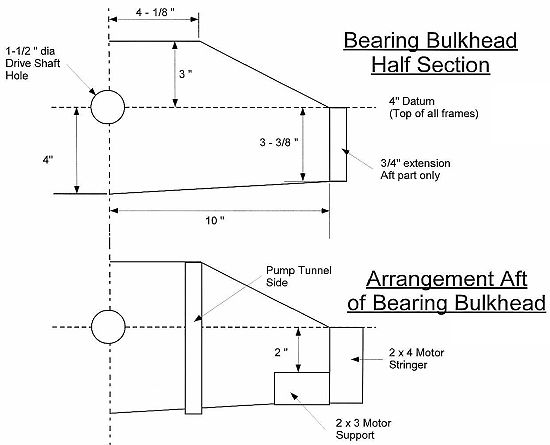
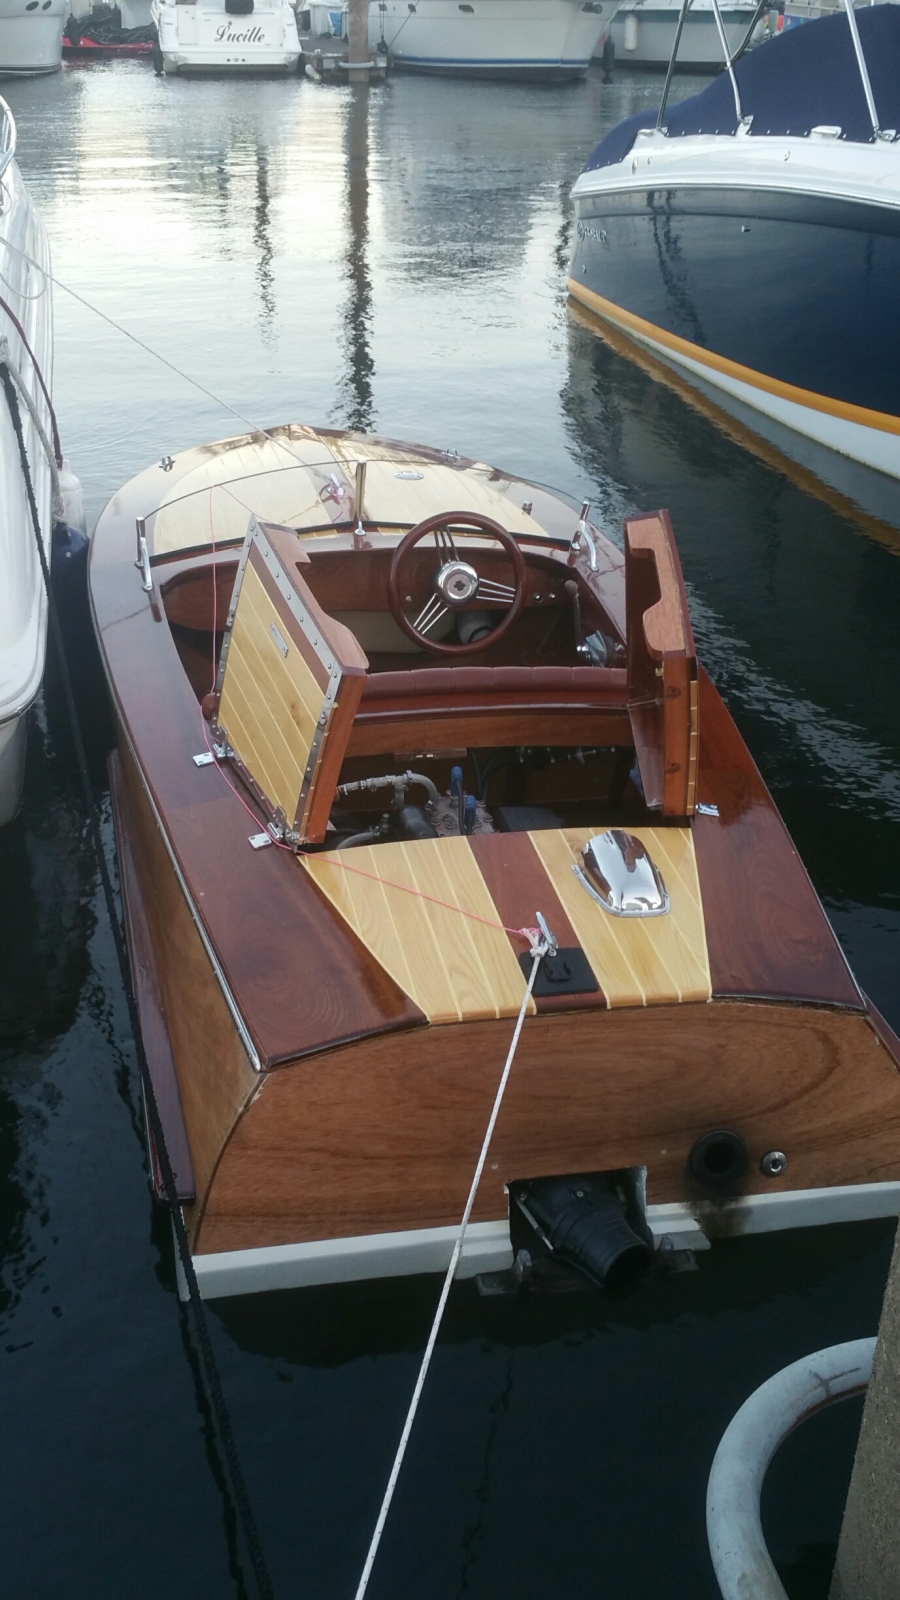
Subject: Jet Squirt Update Date: Mon, 1 Mar 2004 Barry, Here\'s an update on my Squirt project. I\'ve also attached a drawing I made for the structural changes that I will need to make for the jet drive installation. If you think it\'s appropriate, feel free to post this in the \"customer photos\" section. If you have any comments on the structure I\'d sure like to hear about them. Note that I\'ve eliminated the keel and inboard battens aft of frame number 1 - this allows me to mount the jet drive an inch lower in the boat than I could otherwise. Also, I was thinking about using 3/8\" plywood for the aft bottom section, and installing both sides in one piece aft of Frame #1. I plan to block all the corners (i.e. no screws into end grain) buy have chosen not to do that for simplicity in the drawing. UPDATE: March 1 - I haven\'t done much woodworking in the last couple of months, but a lot of design engineering! Turns out putting a jet drive in a Squirt is a fairly complex proposition. In December, I cut out and assembled the stem, breasthook, and both frames. The transom is cut out but not assembled due to uncertainties in what needed to be done for the jet drive modifications. I found and purchased a well-worn but good running jet ski (a 1982 550 Kawasaki) off e-Bay. Then I completely disassembled the jet ski to get all the \"good stuff\" out, and measured all the critical dimensions. I also purchased the service manual for the ski from Kawasaki. This gave me a wealth of good information - including things like the jet pump thrust (340 lb) that I needed for the boat structural modifications. Unfortunately, the manual didn\'t provide things like bolting patterns, these I traced onto heavy paper, then transferred them to 1/4 plywood to act as templates. I\'ve spent the better part of a month thinking and doodling on how to mount the jet assembly. The overall drive train length is 57 inches - too long to put in the boat without lengthening it outside of the Glen-L recommended range. For this reason I decided to mount the pump on a bracket outside the transom. This allows me to lengthen the boat to 11\'-6\", and keep everything aft of Frame #1. The primary structural modification is to eliminate both the keel and inboard battens, aft of frame number 1. These are replaced with engine stringers fabricated from 2x4 stock. Also, I added a half frame, that I\'m calling a \"bearing bulkhead\" that supports the drive shaft, and forms the from of the jet pump suction tunnel that runs down the center of the aft section of the boat. Here\'s a sketch of what it will all look like:
2 Photos
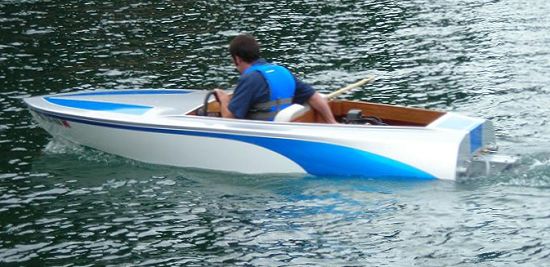
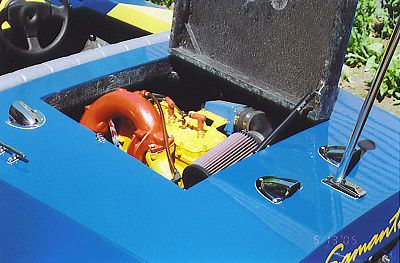
October 2017 Jet Squirt with a 1000 cc Tigershark Monte Carlo Engine. Extended the frame by 8 inches in the back, and 6 in the front. Top speed so far is 55 mph, might get more out of it with some impeller work. Not sure why I would need more, the thing flat out scoots!
2 Photos
Connect with us:


Recommended:


