Add Your Photos
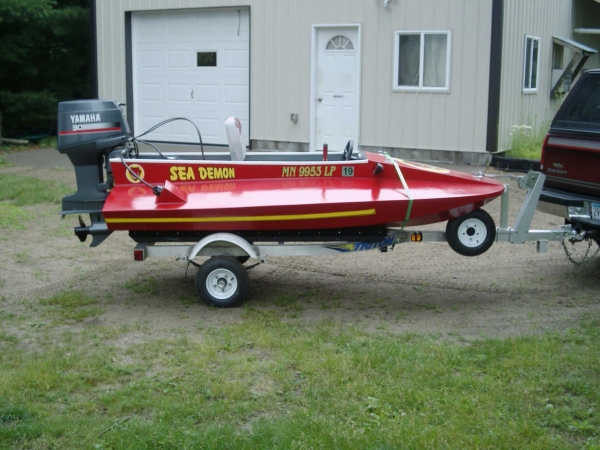
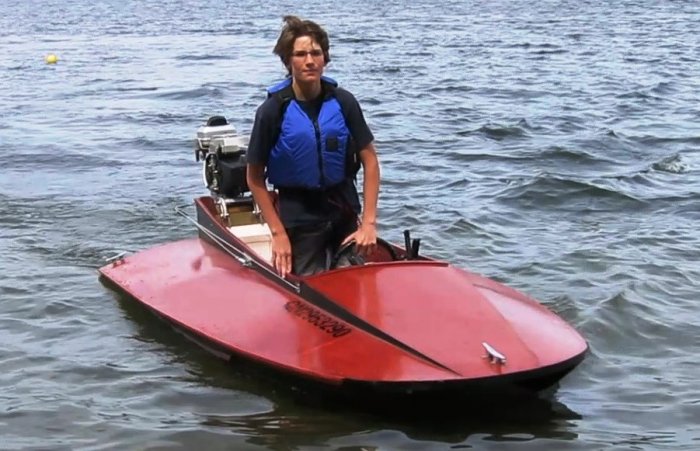
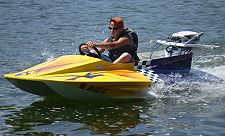
February 1, 2019 - Boat completed in July, 2017: With the 30 hp Yamaha, 3 cylinder, electric start, oil injected at #140 lbs I think it's too heavy. It sat in the water a little too far I think. The water was up on the deck a few inches and most of the other ones I've seen were an inch or so below the deck when it was floating. It didn’t change much after I (200 lbs) sat in it though. So I took the motor back and have a 25 hp Yamaha, 2 cylinder, electric start, oil injected, at 120 lbs to put on soon. I’m hoping it will raise the boat up a bit. That will make a lot of difference especially on the back of the boat. I didn’t drive it much, just a few feet around the dock area so far. It just felt too top heavy for me, it felt like instead of the boat controlling the show, the motor was controlling the show. I want it safe for me and my friends to drive too. I’m too old for anymore crashes hmmm.
8 Photos
June 2017 glen L tunnel mite- a great winter project
10 Photos
June 2013 Since building the Squirt I have built the Glen-L Zip and Glen-L Tunnel Mite. I’m now being requested to have them on display at the newly remodeled Tacoma Foss Waterway Seaport Museum on a rotating basis. I will put a little history display together for each of the boats as to when they first hit the drawing board or when the plans were first available. I’m thinking if I can spark some interest in boat building to a few it will be well worth it. Thanks! --- Rich Stabler
1 Photos
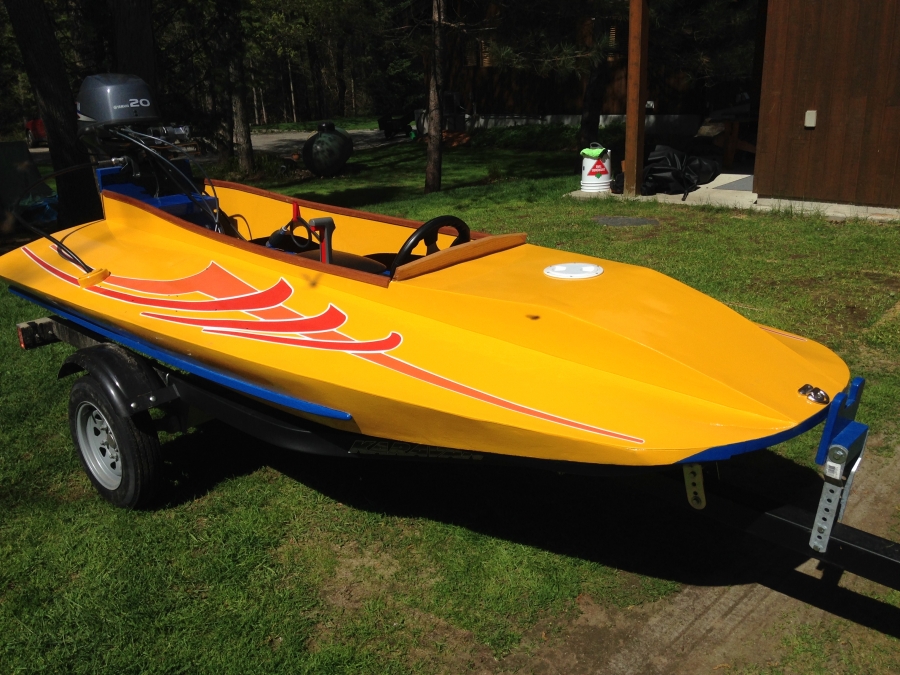
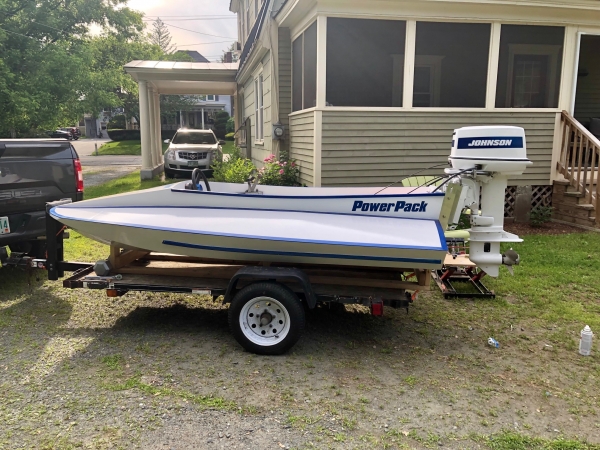
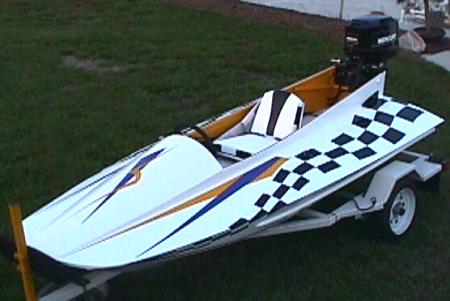
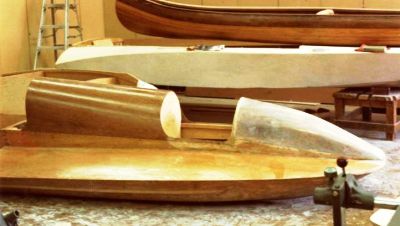
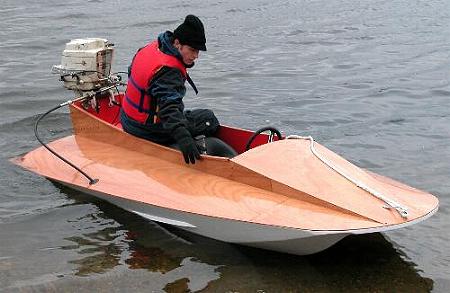
Update March 2013 Having just had my Tunnel Mite titled and registered, (a word to the wise, keep ALL receipts, you\'ll need them for that purpose). Glen-L was kind enough to send me a copy of all my receipts that I have used with them in purchasing material. That being said I flipped the boat over (after having the bottom completely done), and dove in on the topsides. Making templates for the combing and decking, it wasn\'t long before I had them on. Fastening the decking to the combing sides proved to be a little tricky; I used screws and nails both in the process. I found using the screws proved to be a little easier than hammering the nails in. Anyway, it all went well , I (as others have done) have raised the dashboard 3 inches ........gives you a little more room and looks better esthetically . Added some additional bracing to the transom (since I plan on using a 25 hp motor) giving me a little more peace of mind...... I painted the boat in yellow, red and blue and added some graphics (hoping it would look more like an older vintage Hydro), and am happy with the results. I have since added a new 25 hp Yamaha , which weighs in at about 110 pounds , and a new trailer adapted to fit the Tunnel-mite (not as hard as I had thought)........next step FULL THROTTLE! Things I have learned: 1.. You can fall of a 3\' step ladder just as easy as an 8 footer... 2. More than not paint thinner is flammable .... 3. Anything that has “stainless” written on it is expensive... 4. Building a boat is a great experience! My thanks to Glen-L for all the help. 2 January 2008 Having grown up on the water, and watching hyrdoplane races from our front yard, it has always been my desire to build one. Research brought me to the Glen L web-site where I found the Tunnel Mite. Being a first time builder, I thought this might be a good choice to start with. Having received the frame kit and plans, (and being retired) I jumped right in... well, after reading the contruction manual 50 times. Using marine plywood and mahogany, bronze fasteners (from Glen-L), I got started. I built a jig for the frames and attached it to a table that I put casters on, so I could move it around and at times roll it outside when sanding was required. This worked fine. The plans were pretty straight forward and easy to understand. I decided to use the Glen L Poxy-Grip for all the joints and this is some strong stuff. I forgot to mention I used all 5 x 10 sheets of plywood to avoid butt joints. A little extra money, but I figured it was worth the price for having not to go thru the labor of butts joints. Things I have learned: Never lay a belt sander down while it is still running. The bronze fasteners are very soft, don\'t try to dive them in with one burst of your drill. Three short bursts work better. Pre-drill and contersink ALL fasterners (save you a lot of effort later on). Spacing of your fasteners is important, take a little more time and attention to that. Use a hack-saw blade in your jig-saw when cutting it makes for a better cut and easier to control. Take care in the amount of Poxy-Grip that you mix up... too much and you waste it. I\'m having a ball, can\'t wait to see if it floats.
10 Photos
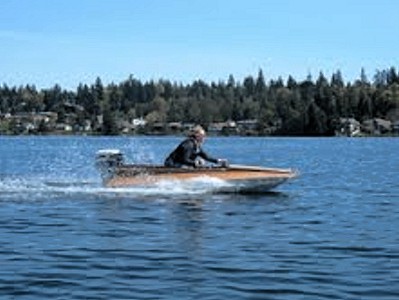
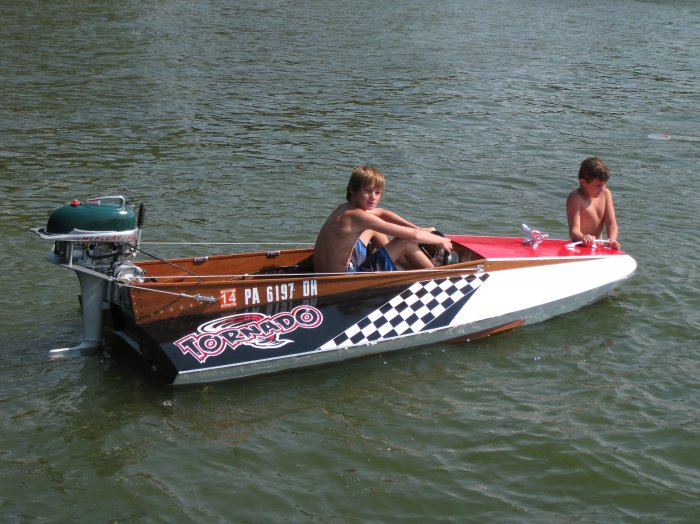
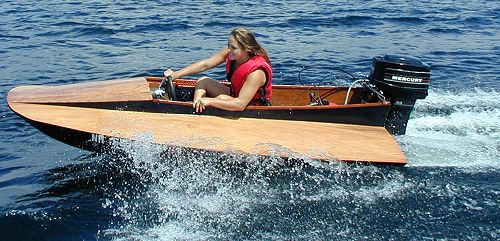
Update February 2013 We first ran our Tunnel Mite with a 9.9 hp outboard. This past summer we upgraded to a 33 hp Yamato racing outboard from Japan. Quite a difference! Link to YouTube video here September 23, 2008 I think we might have purchased the last Glen-L Tunnel Mite framekit. My dad built the boat for my son over the course of the winter, starting in his basement and then shifting construction first to the garage as the weather warmed and finally to our cottage boathouse for installation of motor and steering. This was boat number four for my dad, who also built 20\' and 26\' sailboats over the years, but our first Glen-L design.
11 Photos
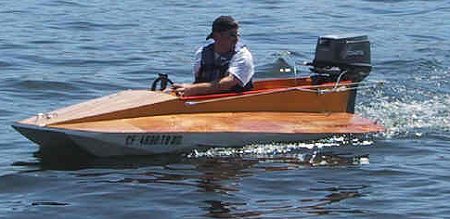

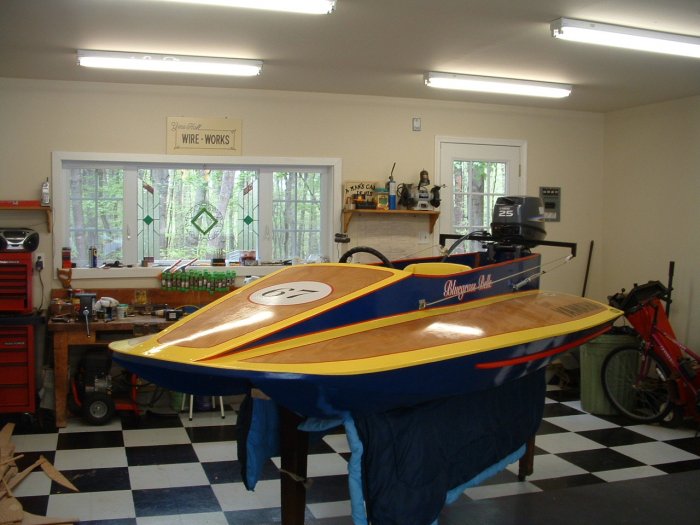
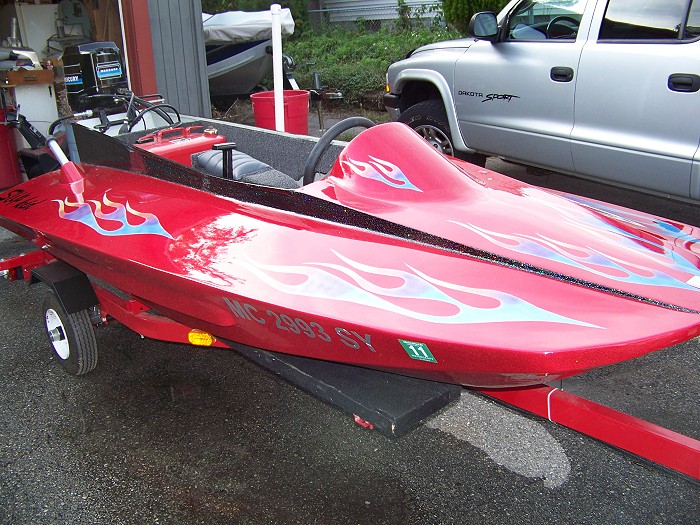
Tunnel Mite by Randy Graunstadt, Walled Lake, Michigan February 8, 2009 Thanks for the plans! This is my version of the Tunnel Mite,though I cannot take credit for the beautiful paint job. That goes to my friend Barry Cox. I always wanted to build a boat, but never really thought I would do it. It was a fun project, mostly done on the weekends. I did modify a few things. I doubled the plywood for the transom, added a cowl for the speedometer, used pour-in floatation inside, and made a wood bracket to hold tube for the steering cable. I put a 25-hp Mercury on the back, though the carb was all gunked from sitting. We had it to 30 mph, and with a good cleaning I\'m sure we\'ll get a little more. My son Trey can\'t wait till this summer, since the boat wasn\'t finished untill the end of 2008 season.
9 Photos
Connect with us:


Recommended:


